A Complete Guide to Synology Router Configuration!
Synology Router Configuration is an essential step to enable external access to your network or NAS and secure remote management. However, it also helps in optimizing your network performance and customizing the network settings as per your preferences, externally or internally.
Moreover, there are multiple ways to configure the Synology router, i.e., via the QuickConnect ID, port forwarding, custom firewall rules, DS router app, etc. If you are interested in learning the Synology External Access Router Configuration, then go through this guide. Here, you will find the easiest way to configure your router for complete protection and external access. Let’s dive in!
How to Perform the Synology Router Configuration?
Indeed, performing the Synology configuration is an essential step to enable seamless and secure remote access. Whether you want to access and configure your device internally or externally to the network, you must follow the proper instructions. This section outlines the steps for accessing and configuring the Synology router on your smartphone via the DS Router app. Let’s have a quick look at the steps:
- Initially, make sure your wifi is turned on and your smartphone is connected to the Synology network.
- Further, launch the DS router app on your smartphone and tap ‘Setup new router’.
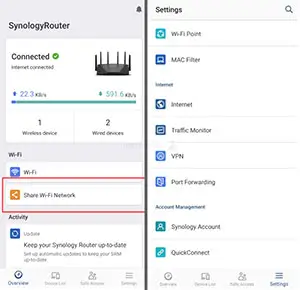
- If you already have a Synology router, then tap “+” from the top-right corner.
- Further, go to the Settings>Wi-Fi and manually connect to the Synology router wifi network.
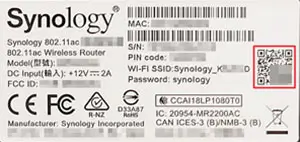
- Otherwise, you can scan the QR code given on the device label.
- Wait for a few seconds, and you will be connected to the Synology router network.
- Then, follow the on-screen instructions to configure more settings.
Synology External Access Router Configuration Steps
Synology router external access provides the users with the ability to remotely access their networking gadgets and Synology router servers on the local networks. The key distinction of the Synology External Access Router Configuration is that you can get access with any device with an internet connection via the SRM.
So, there are two ways of the Synology Router Configuration with external access, including via the customized QuickConnect ID or by setting up the Synology router IP address using DDNS. Here are the quick steps to set up and access the QuickConnect for Synology router external configuration via DiskStation Manager (DSM):
- Firstly, verify that your networking device is powered on.
- Then, connect your computer to Synology’s network.
- Now, open any web browser and enter the Synology NAS IP address.
- Hereon, sign in to your admin account.
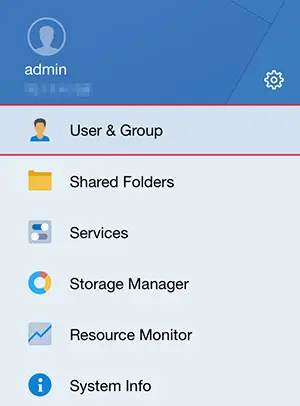
- Further, go to the Main menu and open the Control Panel in the QuickConnect settings.
- Now, click on the Connectivity>External Access>QuickConnect.
- Then, check the box to ‘Enable QuickConnect’.
- After that, create a Synology Account or log in if you have an existing one.
- Then, select a unique QuickConnect ID and access your NAS.
- Finally, tap ‘Apply’ to save all the changes.
On the Whole
Finally, you have finished reviewing the stepwise procedure for the Synology Router Configuration. However, this guide teaches you the simplest way to access and navigate to the Synology router settings and enable seamless connectivity. Hopefully, our guide will help you enable seamless network connectivity at your home and businesses at your fingertips.